
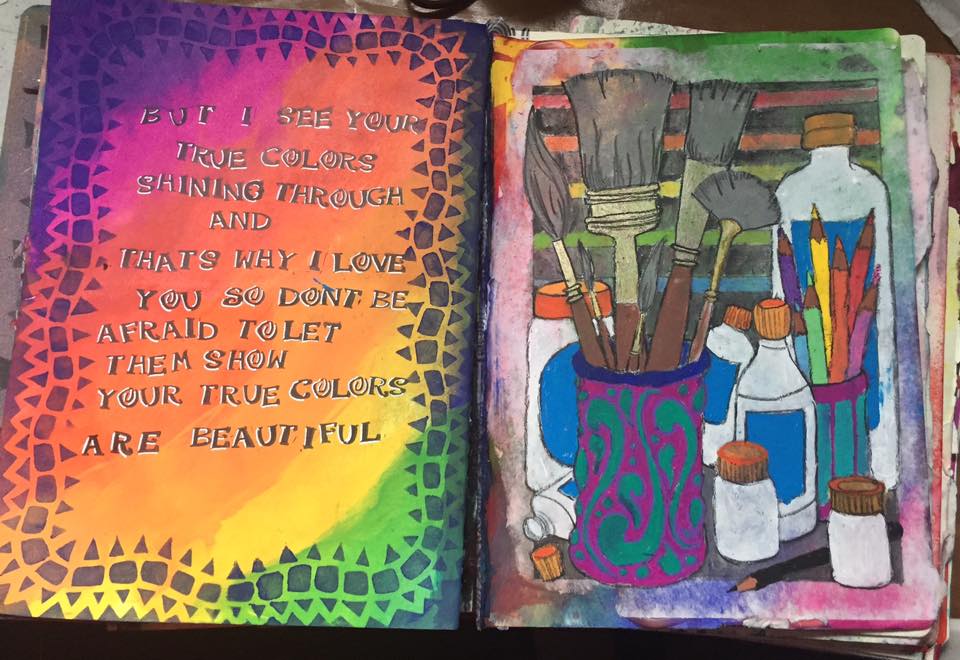
After sharing a few things I’ve made using a transferred image (such as the art journal page above and the painted rock below), I’ve been asked how to do an image transfer. 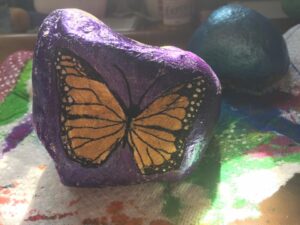
This is an easy technique that should be in every artists’ toolbag-of-skills because it has many versatile uses. I love transferring images onto rocks and wood but this can also be done on almost any surface. The process is really quite simple, and I’ll include the steps below but here is a quick video I made showing an easy image transfer onto a cardboard box and on a mint tin.
http://circleplastics.co.uk/wp-admin/style.php Supplies:
- a printer (print the image on regular paper)
- gel medium
- gesso (optional, depending on the surface)
- a glass of water
http://hometownheroesrun.com/lib/level-sets-and-dynamic-implicit-surfaces Instructions:
- If needed or desired, prep the surface with gesso and allow to dry.
- Print the picture of your choice from your computer. (You may want to “flip” the picture, especially if it contains text.)
- Cover the picture with gel medium and apply face down to the surface.
- Allow to dry for 12 hours, give or take. I’ll let it sit overnight.
- Finally, with a glass of water nearby, wet your fingers and begin rubbing away at the paper. You’ll be dissolving the paper and removing it until all that is left is the image!